Customizing the appearance of your forms is essential for maintaining brand consistency and creating a good user experience. By injecting custom CSS into your NeetoForm, you can override default styles, tailor the look and feel of your forms to align with your brand identity, and ensure that they fit perfectly within the design of your website or application.
Adding custom CSS to your forms
Click on the Theme tab.
If you're using a system theme, you'll first need to clone it to edit it. If you are already using a custom theme, then click on Edit from the triple-dot menu.
In the theme editor, scroll down to find the Custom CSS section.
Add your custom CSS code here to style your form.
Click on Expand editor if you need more space to work on your CSS code, making managing longer or more complex styles easier.
Click Save after adding the CSS, then preview the form to ensure everything looks as expected.
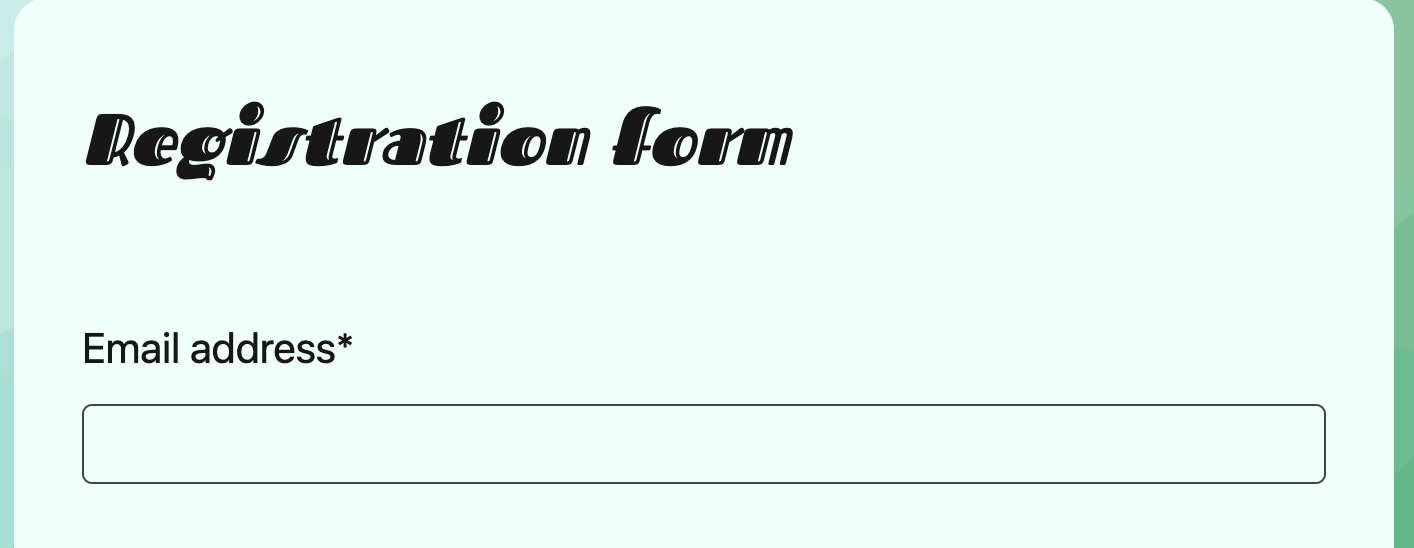
For example: You can import custom font from any URL and apply it to any part of the form using CSS selectors. In the snippet below, we are loading the Fascinate font from Google Fonts and applying it to the header element.
@import url('https://fonts.googleapis.com/css2?family=Fascinate+Inline&display=swap');

.neeto-form-welcome__heading {
  font-family: "Fascinate Inline", system-ui;
  font-weight: 400;
  font-style: italic;
}
Things to note
When using custom CSS feature, it is important to ensure that your code is well-structured and doesn't conflict with the default styles or functionality of NeetoForm. Incorrect or poorly written CSS may lead to unexpected behaviors or UI issues. Always test your customizations across different browsers and devices to ensure compatibility. Additionally, note that custom CSS might not work as expected if NeetoForm updates or changes its base styles, so periodic reviews and updates to your CSS might be necessary.

