In this case, your custom domain will look like
https://yourbusiness.comLog in to your AWS Route 53 dashboard
Go to Hosted Zones and select your domain
Choose the Hosted zone name you want to connect
Click on the Create record button
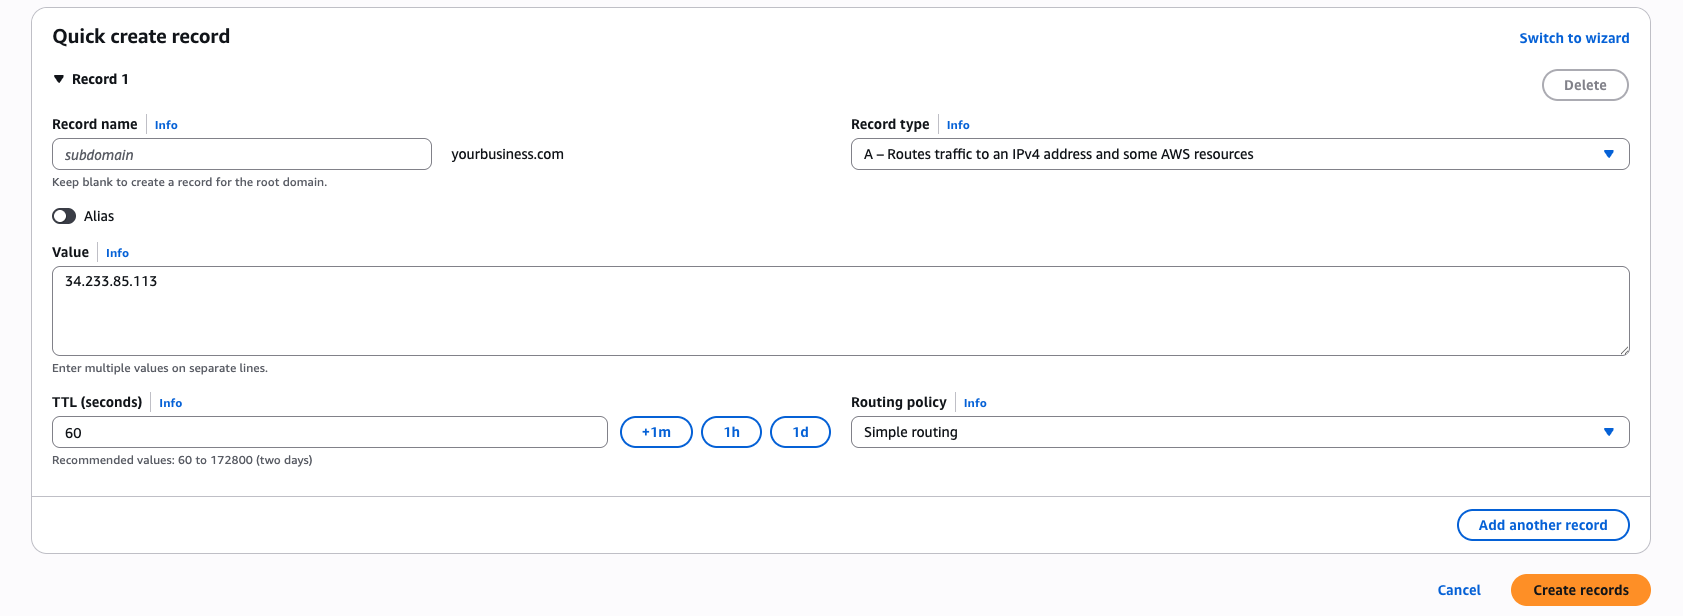
Select A as the Record Type
Fill Record Name, Value and TTL fields as seen on the custom domain setting page on NeetoForm.
Keep the Routing policy as Simple Routing
Click on Create records
For more information, refer to the official documentation.